What is Nano Server ?
Nano Server is a new installation option that became available with the arrival of Windows Server 2016 Technical Preview. It is a purpose-built, stripped down operating system designed to run services and to be managed remotely.
Windows Server 2016 will offer the following installation options:
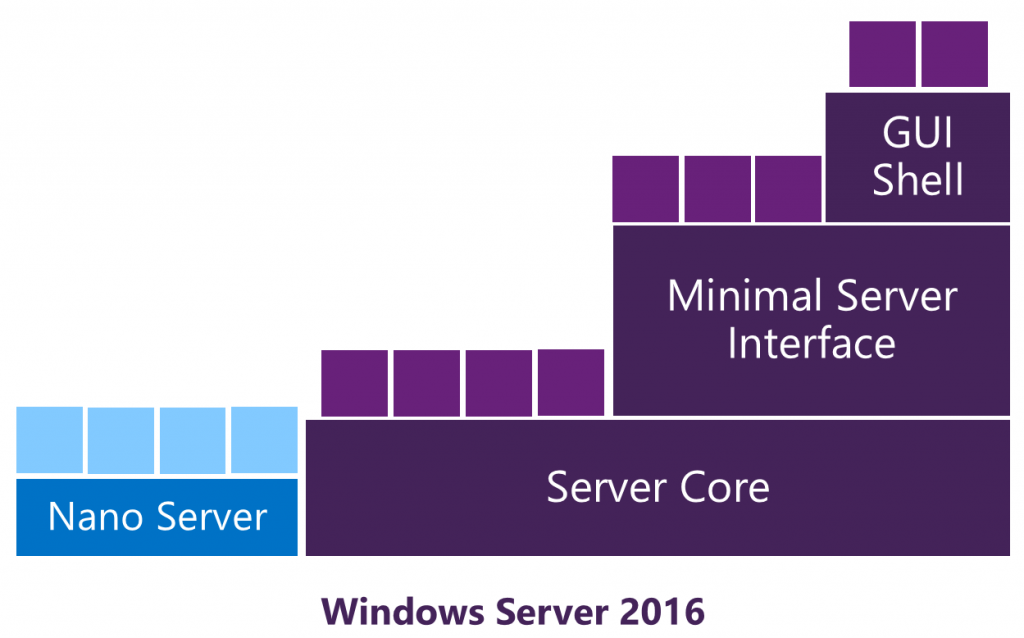
Nano Server has been designed according to Zero-Footprint model and its size on disk is around 500MB. It has no GUI, binaries or metadata in the OS image, it sets up significantly faster and requires far fewer updates and restarts than Windows Server.
As an installation option cannot be selected during Windows Server Setup and in order to prepare and customize a VHD image with Nano Server, PowerShell should be used. Nano Server can run either as a Virtual or Physical Machine supporting the following Roles and Features:
[table id=2 /]
In order to deploy Nano Server as a Virtual Machine into a Hyper-V host running Windows Server 2016, the following procedure could be used:
Step 1 – Mount the ISO
Mount the Windows Server 2016 Technical Preview ISO and copy the contents of \NanoServer folder. If the drive letter for the mounted image is G:\ run the following commands:
md C:\NanoServer
xcopy G:\NanoServer C:\NanoServer /s
Step 2 – Dot-Source the Scripts
The PowerShell Scripts that are included into the Installation folder need to be dot-sourced, in order to be used for the Nano Server VHD creation. Alternatively, it is possible to use another PowerShell Script that you will find at TechNet Library or GitHub, for that matter.
cd C:\NanoServer
. .\Convert-WindowsImage.ps1
. .\New-NanoServerImage.ps1
Step 3 – Create a VHD
Run the following command to prepare a Nano Server VHD:
New-NanoServerImage -MediaPath G:\ -BasePath .\Base `
                    -TargetPath .\NSVM01 -ComputerName NSVM01 `
                    –GuestDrivers –language en-us -Storage -Clustering `
                    -EnableIPDisplayOnBoot -DomainName "MGMT.local" `
                    -EnableRemoteManagementPort
New-NanoServerImage CmdLet allows us to specify Media and Target Path, set the Computer Name, add right set of drivers for Physical or Virtual Machine, select if the Nano Server will join an Active Directory Domain etc. Most important, it allows us to select which Roles or Features are going to be installed.
Please note that if you are running New-NanoServerImage.ps1 on a non-English installation of Windows you should include –language en-us. If you don’t include this, the script will default to your local language–because there are currently no localized builds of Windows Server 2016 it will fail to find the appropriate packages.
Step 4 – Create a Virtual Machine
As soon as the New-NanoServerImage.ps1 has been successfully completed, a new VHD with Nano Server will be available and can be attached as a boot device to a Generation 1 Virtual Machine.
VM creation can be done with the following script:
$VMName = "NSVM01"
$VMPath = "F:\Hyper-V\"+$VMName
$VirtualSwitchName = "vSwitch-INT"

New-VM -Name $VMName -MemoryStartupBytes 1GB -SwitchName $VirtualSwitchName `
       -VHDPath "$($VMPath)\NSVM01.vhd" -Generation 1 `
      | Set-VM -ProcessorCount 2

Start-VM $VMName
A couple of seconds after hitting the Start-VM Command, Nano Server will boot and the following screen will appear:
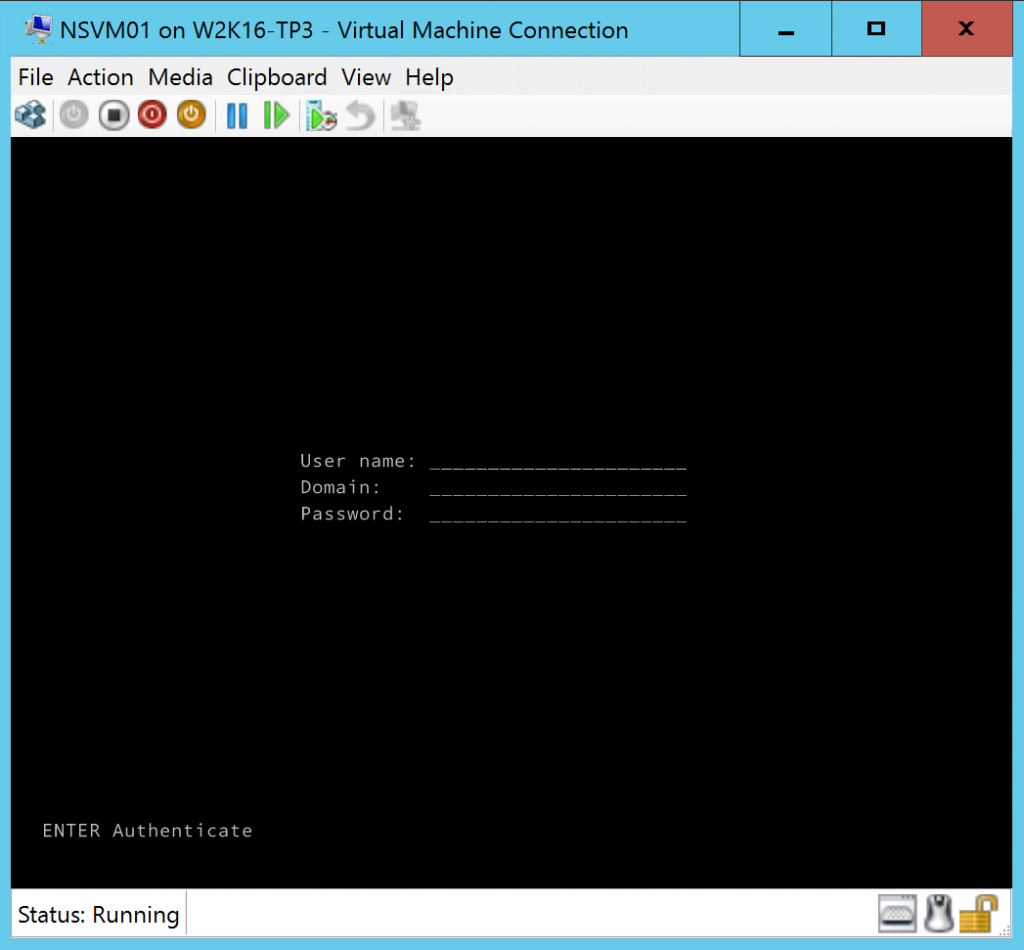
Next, Login using Domain credentials and the Emergency Management Console will appear:
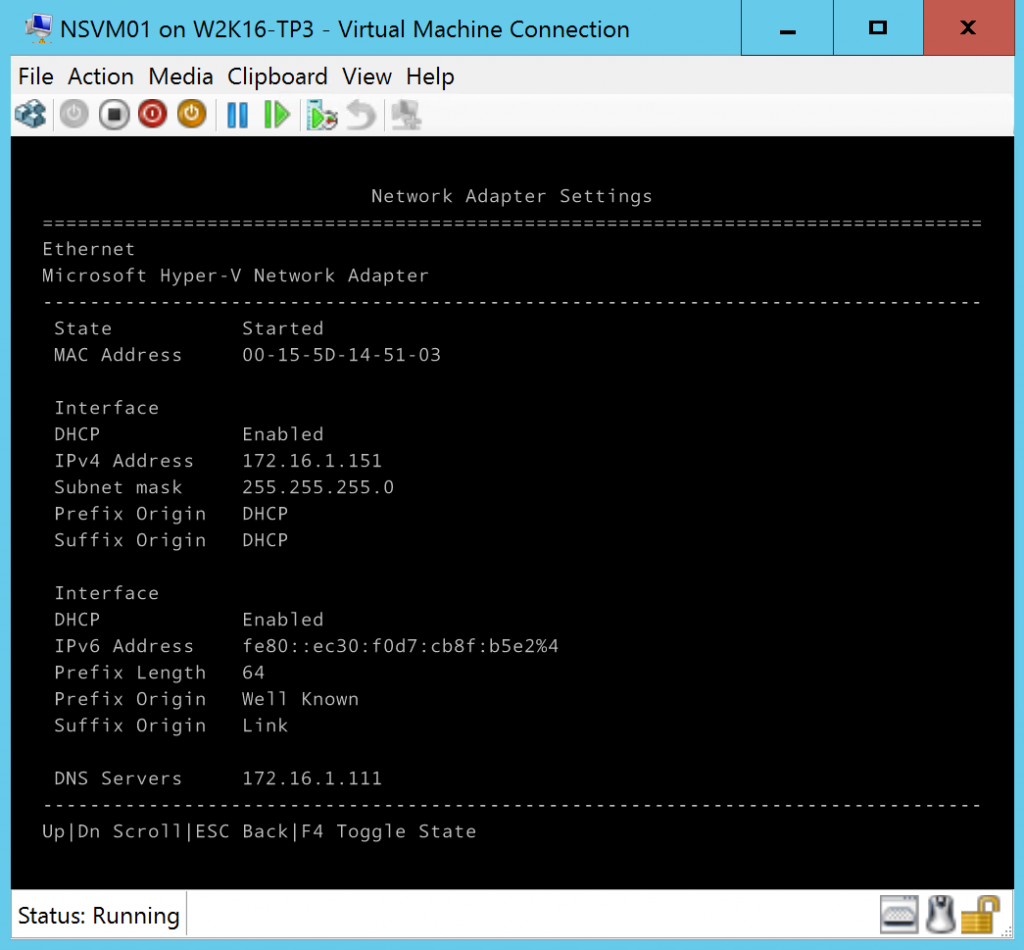
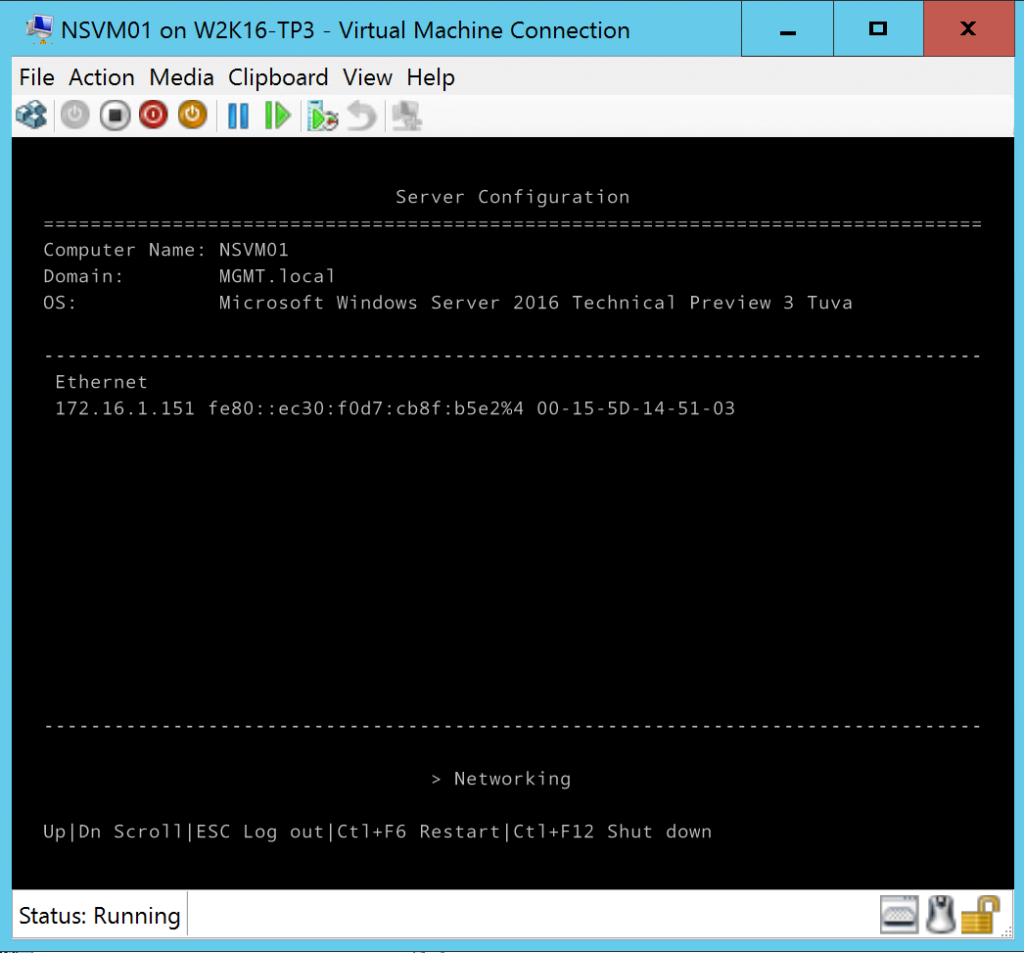 Navigate using TAB, choose Networking and get Network Adapter’s Settings as shown below:
 How-to Manage the Nano Server
Nano Server has no GUI or any other console, except of Emergency Management Console that right now is very restricted and can be used only to display Network Adapter’s Properties. So, how can we manage Nano Server?
Can be managed Remotely using the following tools:
- Remote Graphical Tools (Server Manager, Hyper-V Manager, Disk Manager etc.)
- PowerShell Remoting
- PowerShell Direct
- Third Party Tools & Frameworks (Chef, ASP.NET 5 etc.)
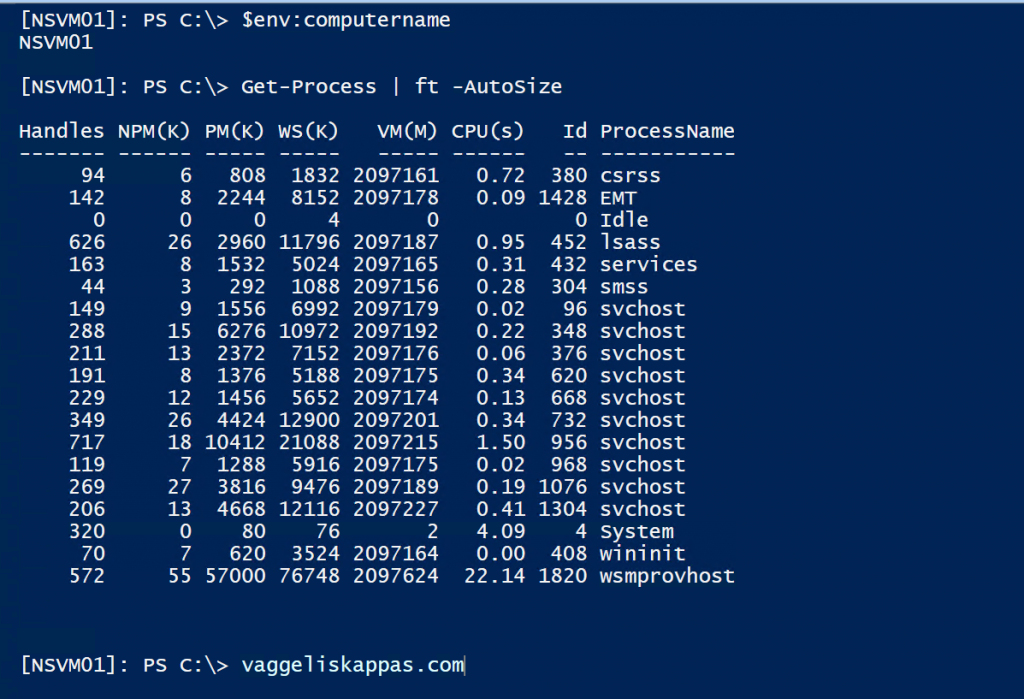
Enter a PowerShell remote Session, using the following command:
Enter-PSSession -ComputerName NSVM01 -Credential MGMT\administrator
Then run Get-Process Cmdlet and get the processes that are running to the Nano Server
Resources
More information about Nano Server and its deployment Scripts you can find at the following URLs:
Server 2016 has no minshell 😉